

DIY Painted Pumpkins
Posted by Ashly on Oct 20, 2021
The evolution of pumpkin decorating has really made its mark since the years of Halloween’s past. No need to gut your pumpkin with tiny little tools and stain your hands and clothes orange (unless you’re into that kind of stuff!) Nowadays, paint and a little creativity do the trick. Add your ‘My Sticker Face’ stickers to the fun, and you and your family are in for a customized treat. See what we did there?
We are going to walk you through an easy chalk-paint pumpkin DIY that we did over the weekend.
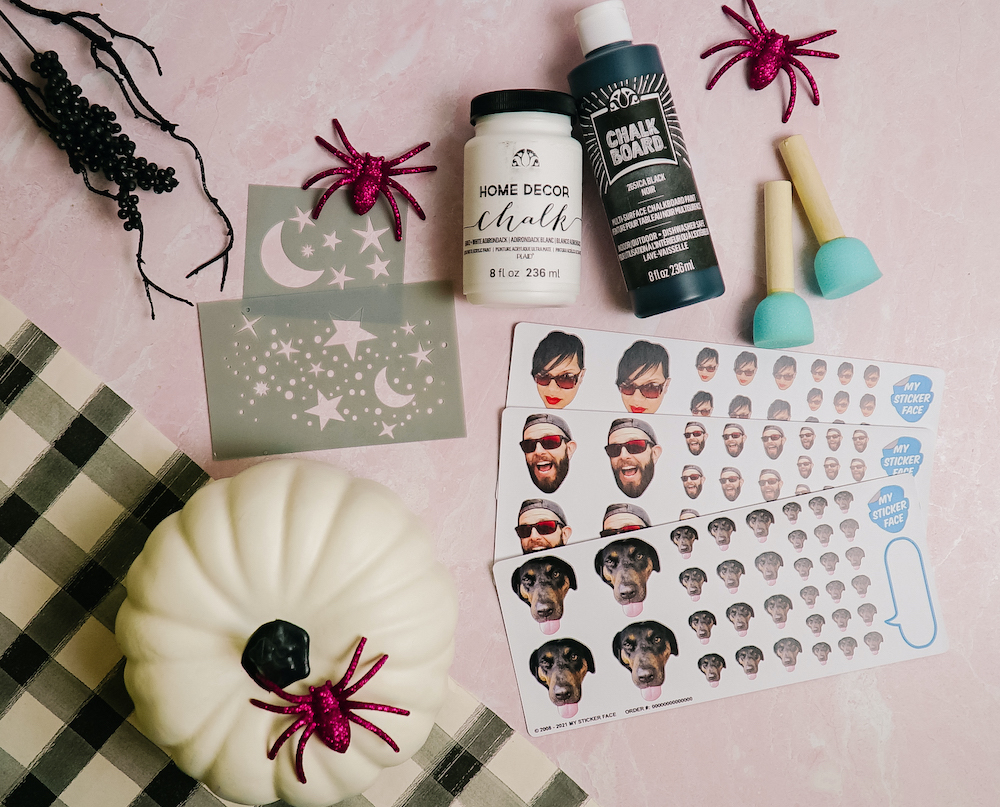
Things To Gather:

1. Paint over your pumpkin with your chosen base color and completely cover the pumpkin’s surface. Two coats should do.
2. Once base coat is dry, grab the stencil you want to use and a foam dabber.
3. Decide where you want your design and carefully place the stencil on the pumpkin’s surface.
4. Dip your foam dabber into the contrasting color and lightly* dab over the stencil. *Remember that paint is buildable. Do not press too hard or risk a messy design.
5. Carefully remove your stencil.
6. Repeat steps 4 and 5 until your design is complete. Alternatively, you can use chalk paint pens to draw on your design if you would like!
7. Add your StickerFaces throughout your design for a fun, customized pumpkin!
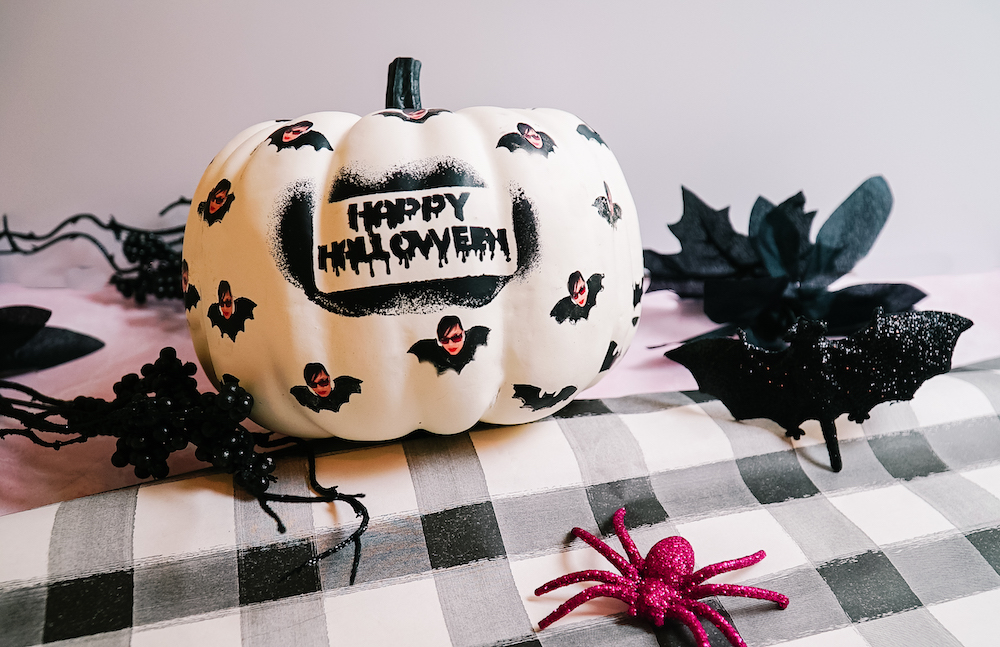

As always, don’t forget to tag us #MyStickerFace to show us what you came up with! Happy Stickering :)