

How to Apply Your Stickers
Posted by Lindsay on Jun 21, 2019
We know that once you get your sticker faces, you'll have this immediate urge to stick them everywhere and anywhere. We totally get it (and encourage it!) BUT before you start your stickering spree, we wanted to give you a short, step-by-step on how to apply them. Trust us, if you follow these simple steps, it will improve your whole stickering experience and the longevity of your stickers.
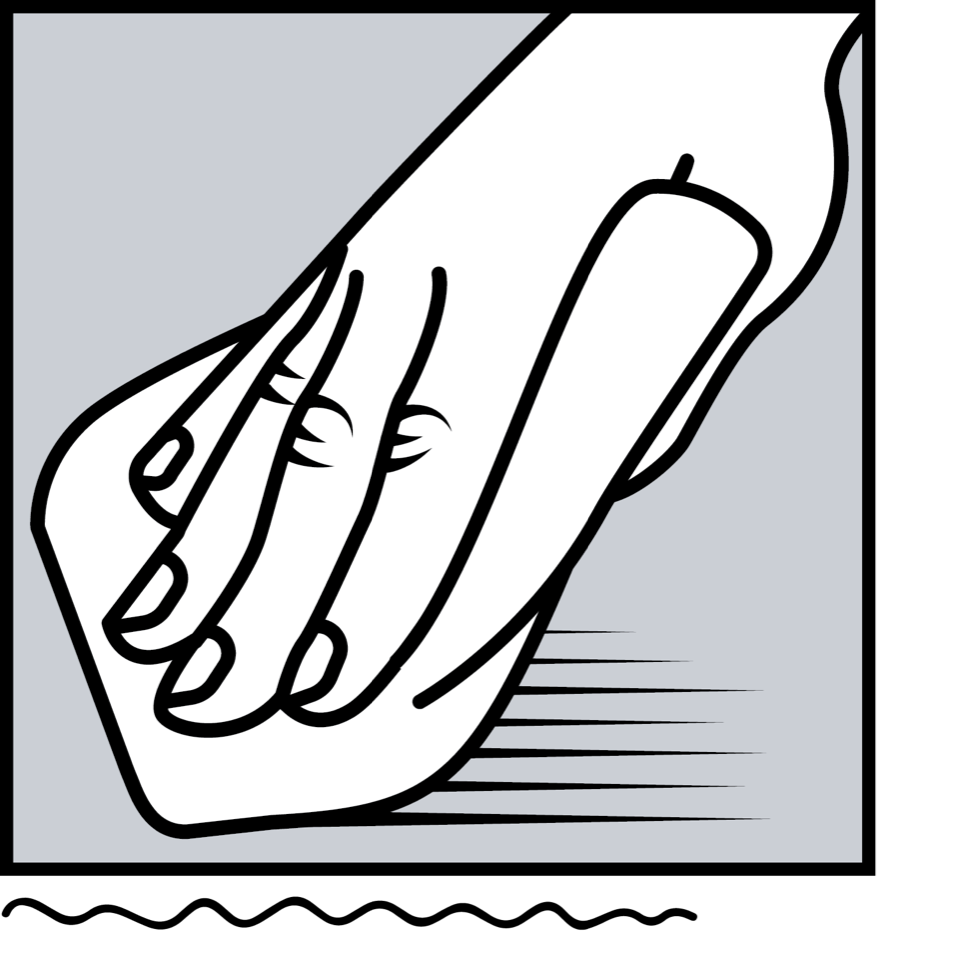
STEP 1: CLEAN THE SURFACE
The first step for successful sticker application requires a good, clean, smooth surface! Throughly clean your surface using either soap and water, a household cleaner (such as Windex), or even use a 2-to-1 mixture of water and isopropyl alcohol. Next, you'll want to completely dry the surface with a clean cloth, preferably one that is lint free.
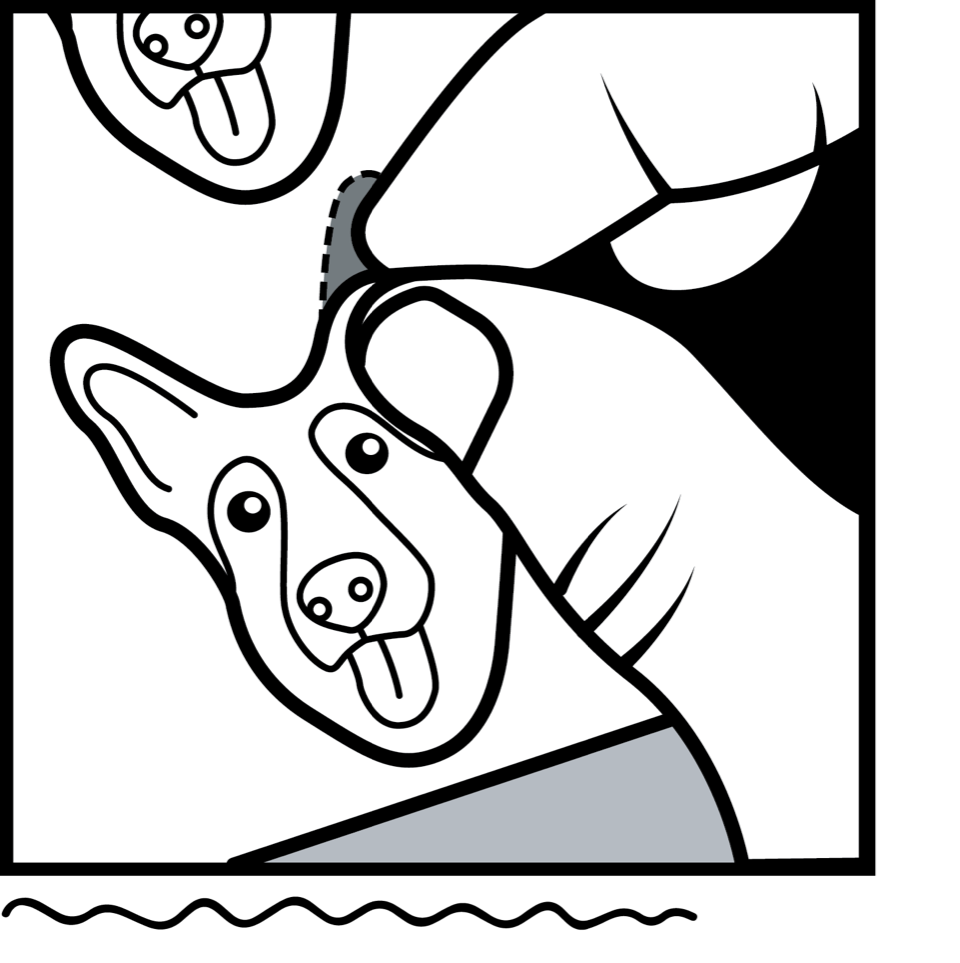
STEP 2: PEEL YOUR STICKER
Yes, we know this one is pretty obvious - but there is a "right" way to handle your stickers! We recommend slowly peeling your sticker off of your sheet and handling it from the edges. This way, you can ensure the minimal amount of skin oil, dirt, or the crumbs from your cookie at lunch won't find its way on to the adhesive backing of your sticker.
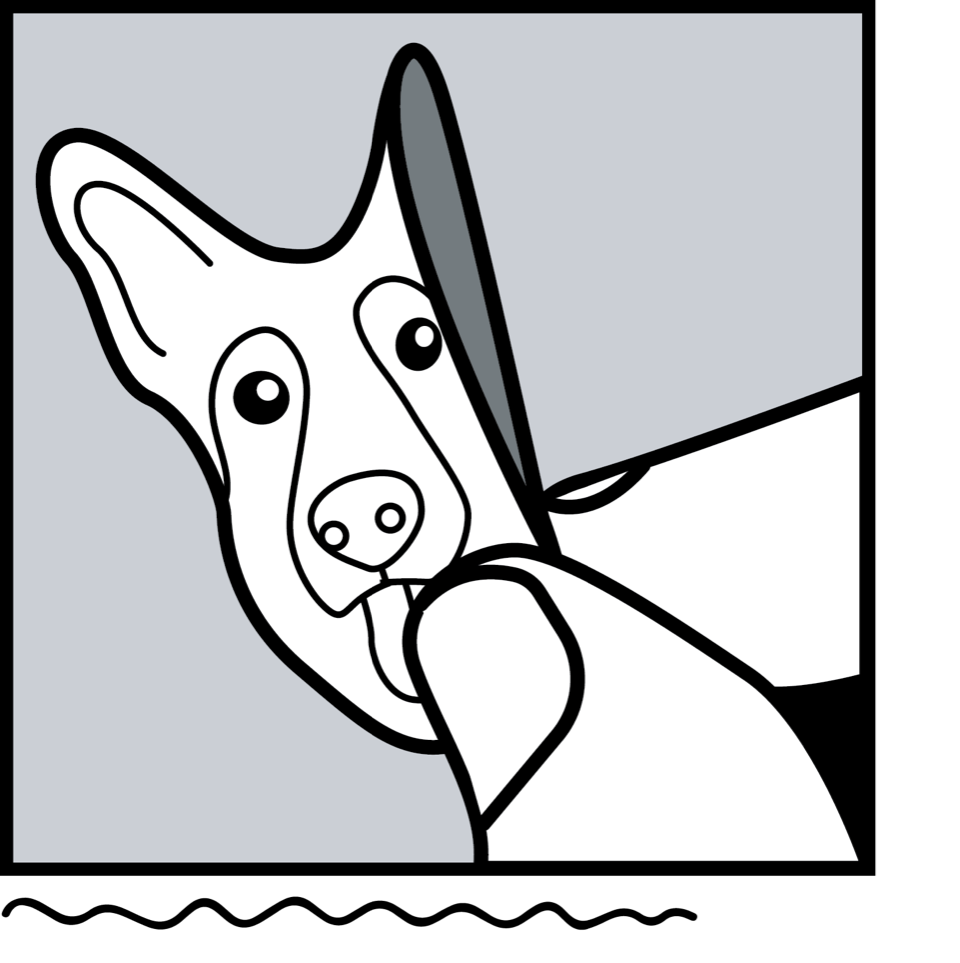
STEP 3: ALIGN AND APPLY
Now for the fun part! Align your sticker to the desired location on your surface. Apply one edge of the sticker, and then smoothly lay down the rest. Don't rub it down just yet - make sure you are happy with the placement.You can carefully peel it off and adjust your sticker until you find the perfect spot (remember step 2!)
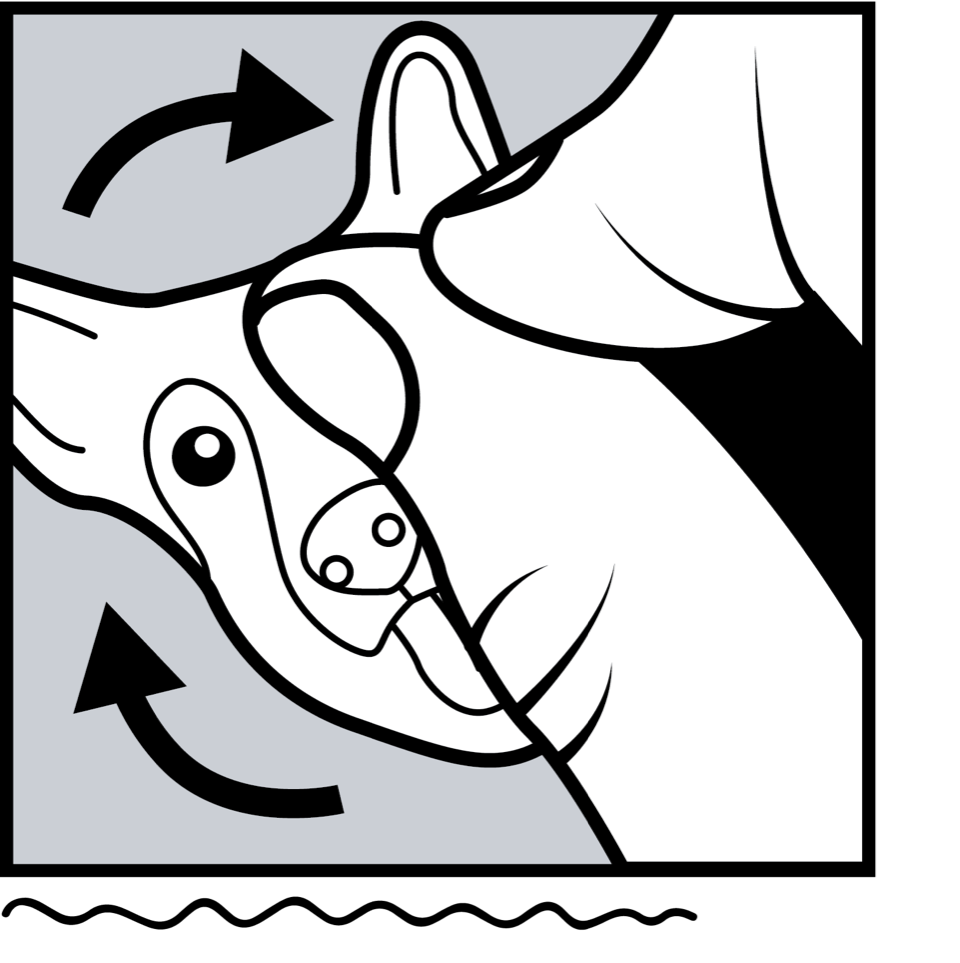
STEP 4: RUB! RUB! RUB!
You've made it to the end! Firmly rub down your sticker from edge to edge. Making sure you get those edges down is the most important part, as it will ensure that your sticker is fully adhered to your surface with no chance of water finding it's way under there if you put it through the wash.
Congratulations, you are now a sticker extraordinaire!